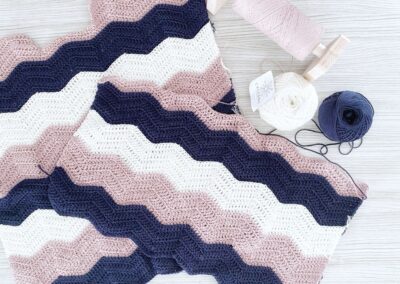
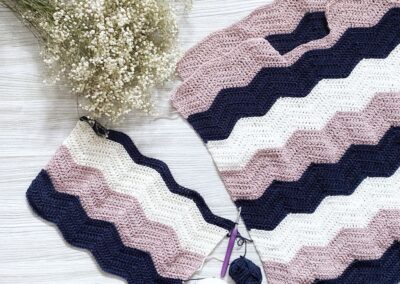
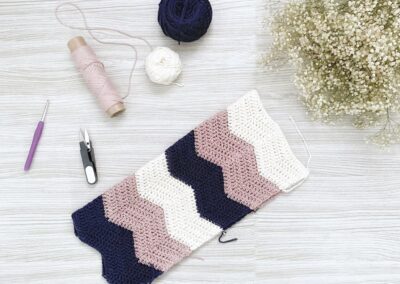
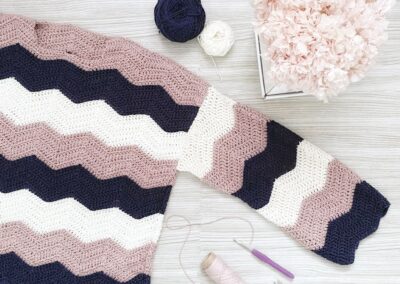
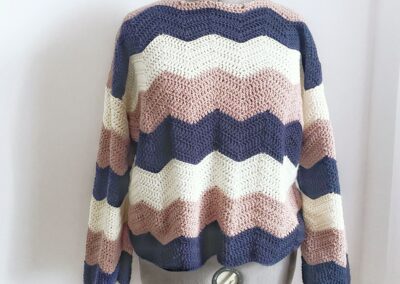
This pattern has been in my to-do list for sooo long, I started a cotton version over spring / summer last year and after having it almost ready I realized it was not the size that I was looking for and the sleeves were too tight so I decided to take a break and return with different yarn and finally make it happen!
As other pattern reviews, I divided it into a few sections so it’s easy to follow and I hope to answer the questions you might have before buying the pattern.
LET’S TALK A BIT ABOUT THE PATTERN:
This pattern is designed by Laura, owner and designer behind Susimiu. It is a crochet pattern with which you will obtain an oversized sweater that it’s super comfy and colorful (if you decide to give the stripes a go).
The pattern covers sizes S, M/L and XL and it is available in Spanish (read the section how clear was it to follow where I write about crocheters who don’t speak Spanish). It’s offered as a charity project, you can find it for free in Susimiu’s website only asking in return at least share or colaborate by making a donation to a greyhound protector especified in the website.
The level specified in the pattern is intermediate, but I think that any begginer that feels a bit adventurous will be able to succeed without any problem.
MATERIALS:
As listed in the website (and the pattern of course), for this pattern you will need:
- 5 mm / 5.5 mm crochet hook.
- In the pattern you will find the different cuantities you will need for cotton or merino wool depending on the yarn you like best for this project.In my case I used:
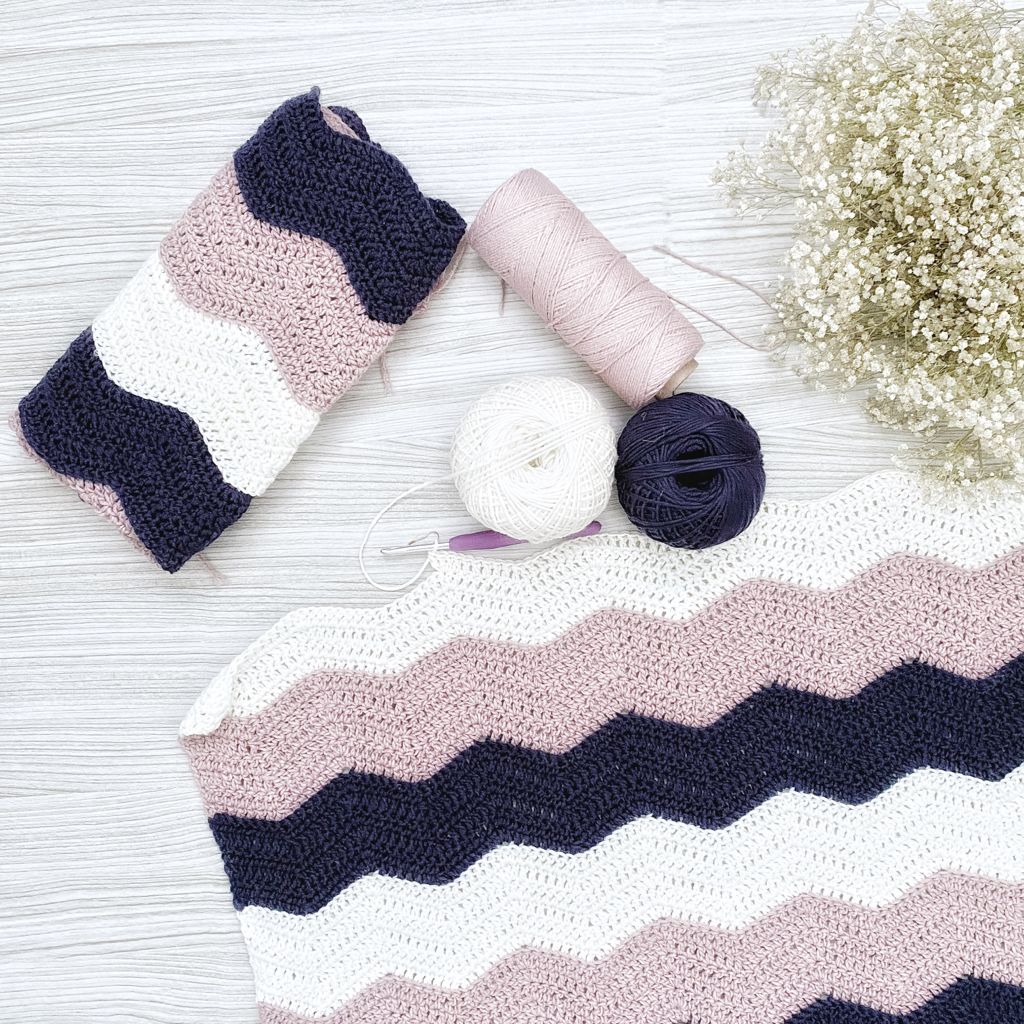
- Color A (blue): 230 gr Merino Superwash from Casasol Filicor (yarn review coming soon!)
- Color B (pink): 233gr of Petite veggie wool from Casasol Filicor. Yarn review also coming soon but you can find the original veggie wool review here. Note: I also used it for sewing the pieces together
- Color C (ecru): 184 gr of Merino Superwash from Casasol Filicor.
- Sewing needle.
HOW IS IT DONE:
The sweater is composed by 4 pieces: back, front and 2 sleeves which makes it pretty easy to create (especially because of their rectangular shape).
The pattern recommends you to start with the front part, then the back and finish crocheting the 2 sleeves.
There are 10 different stitches used in the pattern, which I think are easily doable for an adventurous begginer or intermediate crocheter, but you mostly repeat 3-4 of them and you can find videos in Youtube to learn all of the stitches without any problem.
Since there is no tension or gauge specified in the pattern, I recommend calculating the gauge yourself by doing the following calculations: (total number of stitches / cm it should measure) * 10 = you should have the number of stitches you should have in 10cm. Same with rows.
Once you do this step you will see which hook will be better for you and the result you are looking for. In my case when I did this step I realized I wanted a more tight look to my stiches rather than a more see through as it is shown in the pattern pictures so I did some alterations (you can read more about it in the alterations section later on).
If you want to know more about gauge and swatching, don’t forget to take a look to my post about it that you can find here!
HOW CLEAR WAS IT TO FOLLOW:
I think this pattern is very complete since you have two options: following the charts with all the stitches or the written instructions.
Charts: since the pattern is only available in Spanish, if you are able to read crochet charts you will find it super easy to follow once you have translated the stitch terms (which thankfully are pretty standard). Just have in mind that you start with the front, then back and finish with the sleeves.
I Written instructions: if you are more used to written instructions, this will be your option without any doubt. For begginers might be easier and you have extra information about different threads when sewing the parts together, when you should only use the back thread, etc. If you are not able to read Spanish and you are a crochet begginer you might loose some information about the process but this pattern is completely worth it.
ALTERATIONS I MADE
- Yarn: I ordered for color B a blue-ish yarn which resulted not a good fit for the combination so I decided to look through my stash and use the pink petite veggie wool that had same meterage as the merino superwash and gave it a go. The softness is not the same but it creates the same effect so it was a cheaper dupe.
- As I mentioned before, I was looking for an oversized look but not see as see through between the stitches as it shows in the pattern pictures so I decided to use a 5 mm crochet hook.
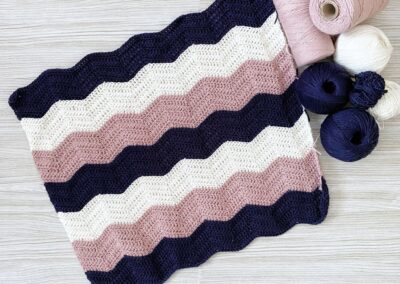
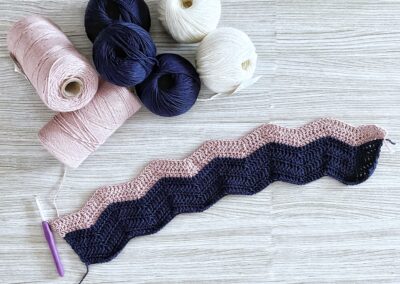
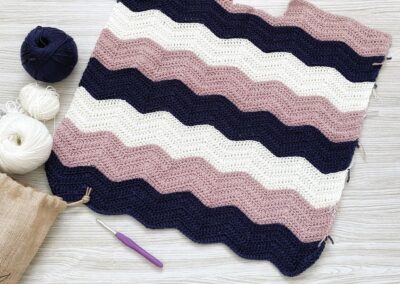
- Body: in order to not stretch it too much when blocking it to obtain the measurements of the pattern, I ended up creating: 3 stripes of color A, 3 stripes of color B and 2 stripes of color C (aka 2 stripes more than the original pattern).
- Sleeves: I added one stripe more than the original pattern so I ended up having 2 stripes of each color.
- I blocked it before sewing all the pieces together (I think its easier to obtain the right measurements and not harming any stitch in the process).
- I didn’t add the finishing touch in the edges (neck, sleeves and body).
The measurements specified in the pattern are before blocking but there is no indication of finished measurements after blocking so I followed them to create mine and blocking to the measurements (specified as before blocking).
For my next sweater I would totally change the stripes, making them wider in order to have less stripes but same tighter stitches look with the same number of total rows in the sweater.
THE RESULT:
I made my sweater size M/L since I was looking for an oversized sweater. I think this will be another go-to handmade project and I’ve been loving working from home and having such a colofurl and soft sweater.
I think it is a basic style oversized sweater, that depending on the color combo you can combine it with anything you want (you can do the stripes narrower and use more colors or choose to make the stripes wider – there are a lot of combinations you can try). Depending on the yarn you finally choose you can have a more fresh sweater for those summer chilly nights or a spring/autumn sweater perfect for layering with blouses.
Would I make another Amigo fiel sweater? Yes, I already have more yarn prepared for it! I am not a stripe kinda girl or mixing a lot of colors but this one really caugh my eye and made me reconcile myself with colorful combos! My first try was with same color yarn, which does look pretty but you don’t get the zig-zag / wavy effect, looking a bit more plain, but of course that’s completely up to you!
Hope this post helped you to get a better insight of the pattern. See you next week!
Xx,
Marta
