When I first started knitting I remember I saw blocking as an additional step that was only meant to make the wait longer. Once I tried it… it’s been like my best friend for *almost* all my handmade projects.
In today’s post I will talk about the benefits, different methods of blocking and materials you will need but first, let’s understand what blocking is.
BLOCK: process of wetting or steaming your final pieces of knitting to set the finished size and even out the stitches.
I recommend blocking before sewing the different parts of your project together to make sure everything is good to go.
WHAT’S MY GAIN WITH ALL OF THIS?
Here you will find a few reasons why you should block your knits:
- Better appearence of your stitches, it will look more proffesional
- Even the tension
- More easily line up your stitches to seam them together
- Open up lacework so it will look better.
- Blocking can flatten curling edges.
- Make sure you have the right measurements for your project.
Let’s see some examples in pictures. Left side is a project my mother is working on and she asked me to block it, both pieces should be the same width… game changer right?
WHAT WILL YOU NEED?
Mandatory material:
- Blocking mat or flat surface where you can pin your project. I have seen that people use from cardboard boxes to yoga mats (or children’s toys mat) to be able to block it. It is important to have in mind that the surface you pin your project to is going to get wet, so we aware when using cardboard, since the surface below it might get damaged with water and humidity. I bought a grid mat from Amazon (not an affiliated link) which helps a lot when measuring and making sure everything is perfect. They are a bit thick so the pin won’t touch the surface and don’t let water pass through so I can block anywhere in the house without problem.
- Pins: for this material you have two options. There are T-shaped pins that you might already have in your house (or are cheap to get) or blocking pins (also bought from Amazon – not an affiliated link), block of pins to make it easier and faster. I usually combine both options for blocking since they work pretty well but I must admit with the blocking pins you need to be extra careful to not get it tangled with the skein’s threads.
Depending on the method you choose you will need:
- Handwash soap: for delicate fibers
- Water spray
- Fabric softener
- Handkerchief
- Hand iron steamer
LET’S TALK ABOUT FABRIC:
You can block any project but… do the fibers react the same way? When it comes to cotton or wool you will be thrilled with the results since you will appreciate a big differente between the raw project and the blocked one but for example acrylic fibers will go back to their original state and you won’t see that much difference (but there is still some difference between blocking and not blocking).
Each fabric will react better to a blocking method, below you will see the different methods and some fiber examples.
LET’S GET INTO BUSINESS!
I used to go to to sewing classes and of course, I earned a nickname due to my pinning methods… Marta the hedgehog. Too many pins are never enough for me! So don’t be scared if you see way too many, it’s the way I roll and how I love to make sure everything is in place.
METHOD 1: Wet blocking
For this method, you wash your project first with handwash soap for delicate fibers (or completely soak it in water at least). It needs to be completely wet, after washing it or soaking it you take of the excess of water (the most common way is laying your project on a dry towel and rolling it to get the excess of water).
Once you have it ready without the excess, I like to measure first over the mat and put the pins in the corners where the project should be. Start pinning the corners of the project and work your way adding more pins. I always like to put more pins to make sure I have straight lines.
Once you are done putting pins let it air dry (I normally let it stay between 12h-14h making sure it’s completely dry before getting the pins. If you still have to sew your pieces together, now it’s the moment and you have it completely ready to wear it!
I normally use this method when working with cotton and wool and it’s recommended for natural fibers (wool, alpaca, etc).
Always make sure to put the project with the right side up when blocking.
METHOD 2: Spray blockin
Fill your spray with water and spray the whole project till it’s humid (I also like to make sure the side facing the mat gets humid so I usually lift a bit the project and spray under too).
Wait till it’s completely dry and you will be ready to go!
I use this method when I work with linen skeins, and instead of filling the spray with 100% water I like to put a mix of fabric softener and water (1 to 3 the most, or 1 to 4) and spray all over the linen project. It blocks amazingly and the smell couldn’t be better!. Other fibers for this method are: silk, cashmere, acrylic… all that require being gentle.
Always remember to block the project with the right side facing towards you.
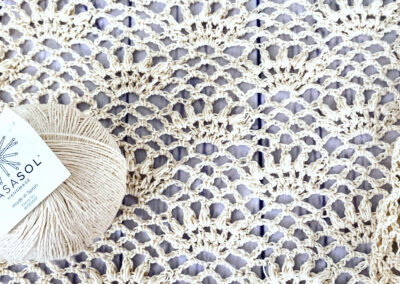
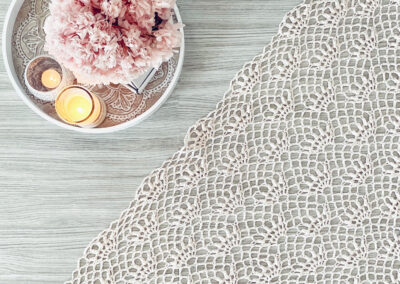
Below you have three pictures of the 9 de junio shawl by Susimiu, left before blocking and right after blocking, big difference right?
METHOD 3: Steam blocking
You will find handy for this method a hand steamer (I got mine for Amazon – not an affiliated link). You would start as you did with the humid blocking method, pinning the dry project to the mat (make sure it’s well pinned down), then place the mat vertically (since you can’t use the hand steamer horizontally – unless your steamer allows you to!) and start steaming the project with up-down movements, never side to side and wait till it’s completely dry (wool or thicker yarns might take longer).
It’s a quicker method and if you are doing a project for a baby you could almost do it in your ironing table (big plus), but I think for bigger projects wet or humid blocking are easier and you assure that you are blocking it properly. When you use your iron and your ironning table, make sure that you use a handkerchief to protect your project from being in direct contact with the heat.
Important things to have in mind for this method:
- For the hand steamer or iron: always choose the lowest temperature for steam available, and never apply pressure.
- Never use this method for silk fibers.
- Be careful with acrylic fibers: once you apply the steam heat to this fiber it will melt not being able to go back to the original condition so please think twice before going this path! (or choose spray blocking when in doubt, always a better option for this fiber)
- Always put the right side of the project facing you EXCEPT if you are working cables, if this is the case, make sure you put the wrong side facing you so it won’t flatten your cables)
- You can use this method for blocking seams (if they are bulky of stiff). Always use a rolled up towel and a handkerchief to be able to apply sobre pressure with the iron.
CONCLUSION:
Always have in mind that you need to check fibers first when it comes to blocking (or choose spray blocking since it is less aggressive than the others) and be aware that blocking rib stitching will stretch it completely, so if you were aiming to have that ie. cuff that is elastic or tigher or that rib edge in your collar or bottom part of the sweater I recommend not pinning this part to not loose that elasticity. If you decide to pin it, you will end up having a flat rib stitch that will measure the same as ie. the sleeve or the bottom part of the sweater.
You need to take into consideration that blocking may affect your measurements, so as I mentioned in my first post about gauge, you should block your swatch before starting a project so you always obtain the measurements you are looking for!
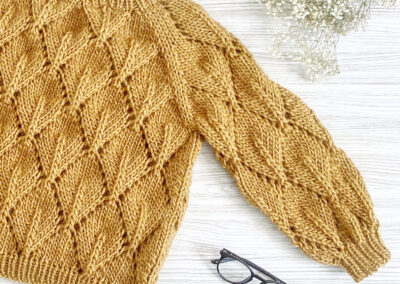
If you like your project just the way it is, enjoy it! As you can see beloew, here are a few examples of handmade projects I haven’t blocked and probably will never do since I don’t feel the need to. As always, this part is up to you!
Hope with all this information you give blocking a try and if you have any tricks or tips of your own share them in the comments down below 🙂
Until next week!
Xx,
Marta


